12/8/11

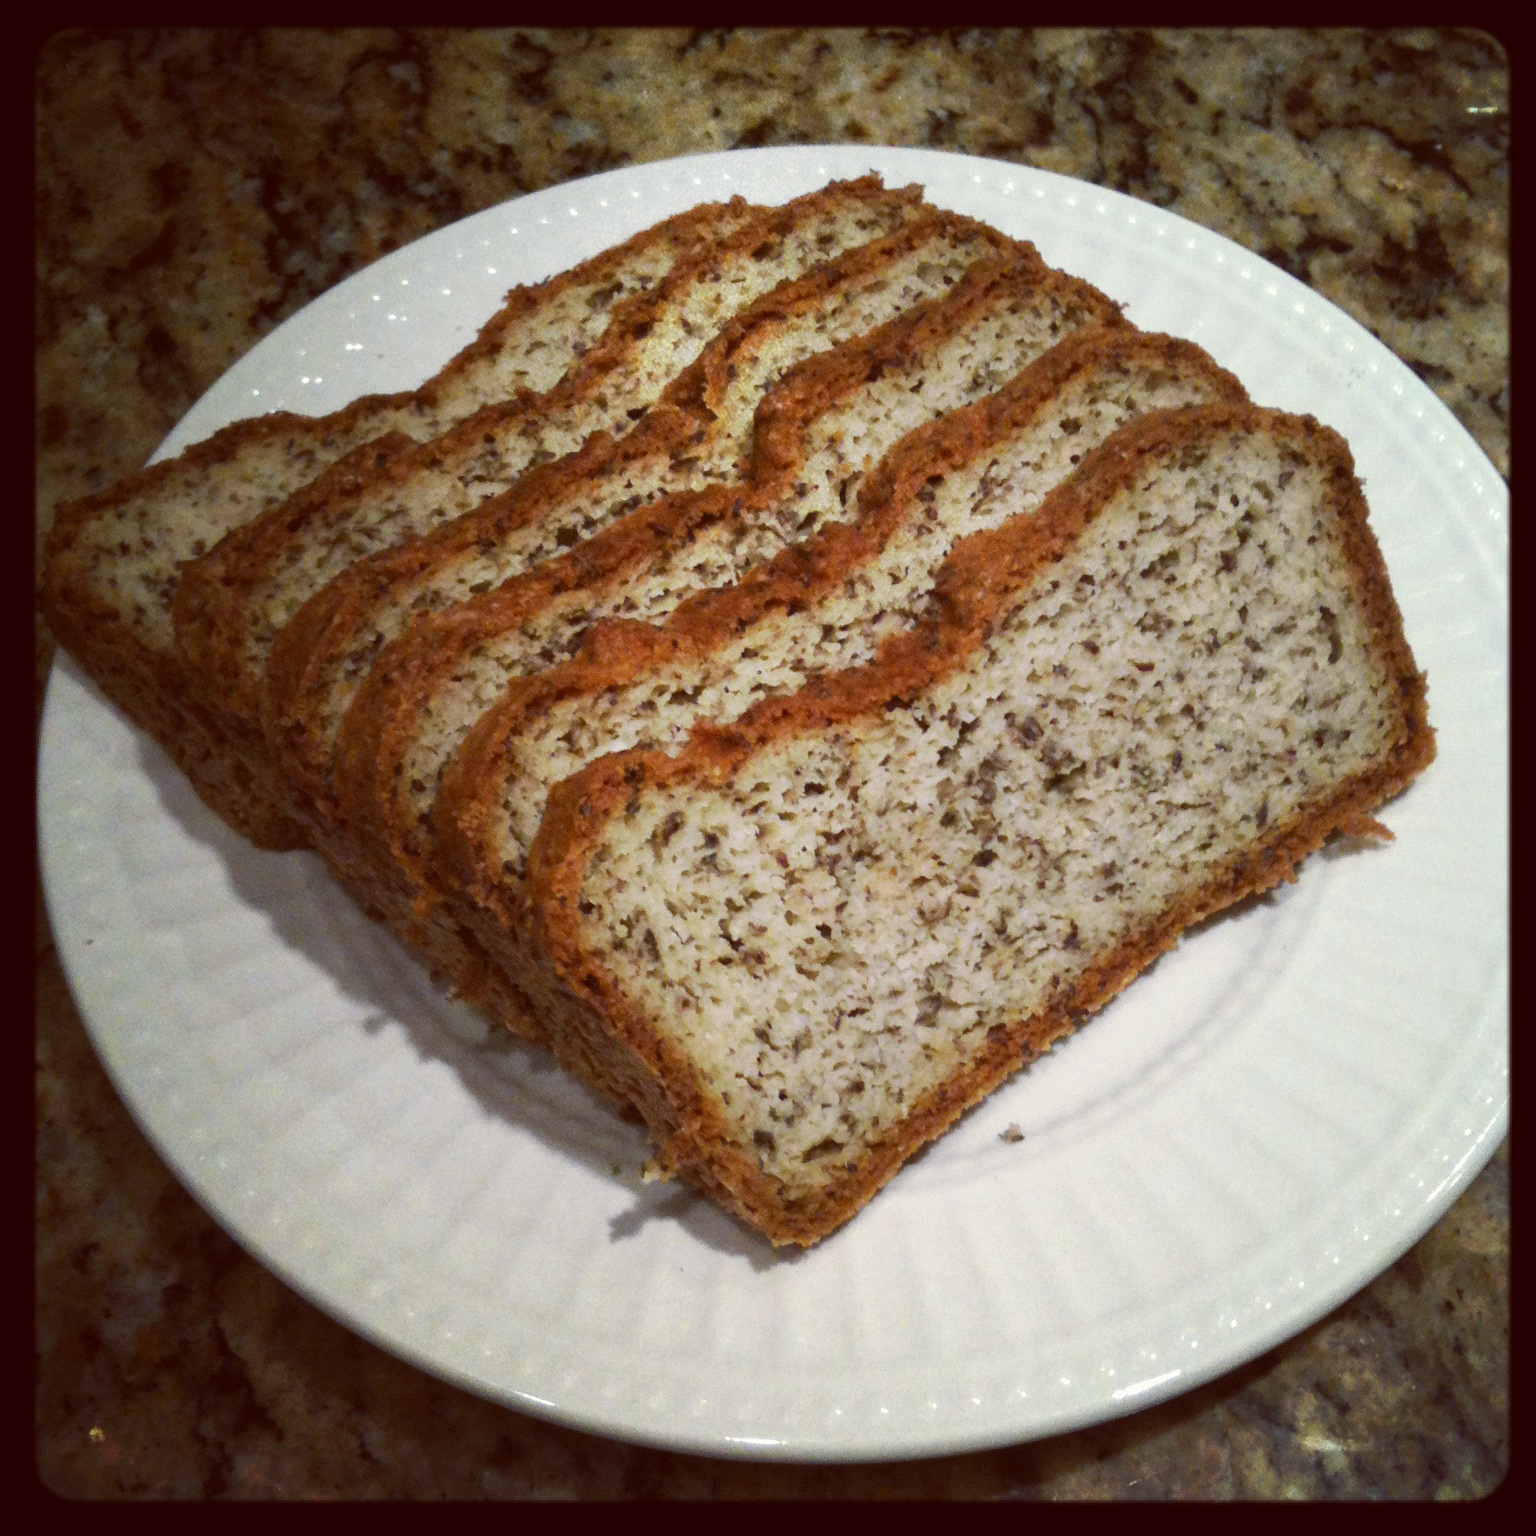
- Almond Flour Bread -


Ok, I admit, there are days when I wish I could just eat a bagel or a croissant [especially a chocolate-filled one], or the bread at a restaurant- partly for taste but also for convenience. But, because I m dedicated to my health and well-being, I choose not to eat them. So on one of those longing-for-a-piece-of-bread days about a month or so ago, I decided to try my hand at creating a grain-free bread recipe. Not a grain-free cupcake or muffin. Nothing sweet. Just a basic loaf of bread, darnit! :)  And while I only had a vague idea of what I was doing the outcome was a success. While in Colorado visiting family two weeks ago I made this the day I arrived. It wasn't for nibbling on- it was supposed to be the base of the grain-free stuffing I was making for Thanksgiving. I had them try little pieces and they all liked it, especially my 21-month old nephew! So that loaf was about gone in 3 days. Needless to say I baked another loaf for the stuffing.
My sister asked me for this recipe because she wanted to be able to have this healthy bread around after I left Colorado. And the other day I got a text from her letting me know she made this bread and it turned out great!
I am quite happy with this bread. Of course, I'll try making different variations, improving it how I can, and whatnot [I've already used this as a base for spice muffins and chocolate coconut muffins. Recipes to come!]. But overall I'm satisfied with this grain-free bread. 
A couple notes for you: If you use a 9"x5" loaf pan the bread won't be tall like a typical loaf of bread. This is normal. But, you could use a 7"x4" loaf pan and it would be taller. I don't know the bake time for a smaller pan, so if you try it please let me know! Also, this bread can be toasted but watch it carefully- it burns quickly. And lastly, because it's almond flour it is dense and quite filing. Delicious with any meal or as a snack!


Almond Flour Bread

• 2 c blanched almond flour
• ⅓ c flax meal / ground flax
• ½ tbsp coconut flour
• 2 tsp baking powder
•1 tsp baking soda
• ¾ tsp salt
• 1 tsp xanthan gum
• 4 eggs
• 3 tbsp butter, softened
• 1 tbsp olive
• 1 tbsp almond oil
• ½ c. whole milk Or almond milk
• ¾ tbsp apple cider vinegar

- Preheat oven to 350ยบ and grease&dust w/ almond flour a 9x5 metal loaf pan.
- Add all ingredients together in a large bowl and beat/mix until incorporated.
- Scoop into loaf pan and bake for 50-55 minutes.
- Let cool in pan for at least 10 minutes. 
- Turn out and let cool on wire rack. [Store in the fridge!]
- Eat and enjoy!

* If you try this recipe, please come back and let me know. I'd love to know what you think of it or any variations you might have made.*


11/19/11

- Walnut Chocolate Chip Cookies -


Who doesn't like cookies?! I haven't met anyone, have you? So needless to say when I found out recently about being able to bake with almond flour and coconut flour I was looking for cookie recipes. None of the grain-free recipes really stood out to me until my best friend sent me a link to a different recipe from this blog- Gluten Free Fix- and I searched for cookies. There it was, This recipe! I was intrigued by what I found. No eggs?! No eggs in a grainless cookie recipe? How can this be? I was also drawn in by the addition of walnuts. I love walnuts in chocolate chip cookies. I read over her recipe and figured I could adjust it to my preferences [I changed several things].
These cookies are outstanding! I could eat them every day. My roommates really like them, too. When I didn't have anything to quickly eat as I left for work, I ate one cookie for breakfast and brought one or two to work with me so I could eat on my break. They sustained me for 6 hours without needing to eat anything else. Because of the fat and protein content, they are quite satisfying and- when using high quality ingredients- nourishing. I don't ever recommend surviving solely on cookies, but in a pinch they are great until you can eat/cook some other healthful veggies&protein&fat.
I typically will only bake half the batch [because I eat too many of them!] and then freeze the other half. Thankfully the dough thaws and bakes perfectly after being frozen.

Without further ado:
Walnut Chocolate Chip Cookies [eggless]

• 1/2 c. grass-fed butter, really soft
• 1/3 c. ZSweet, powdered [Either powder it yourself in coffee grinder or blender, or buy the powdered kind. I prefer to powder it myself.]
• 3/4 c. almond flour, firmly packed
• 2 tbsp coconut flour, firmly packed
• 1 tbsp ground organic flax meal
• 1/2 tsp teaspoon baking soda
• 1/2 tsp real salt [the mineral-rich kind]

• 1 1/4 tsp vanilla 
• 1/2 tsp cinnamon
• 1/4 tsp xanthan gum [optional]
• 1/2 c. walnuts, chopped very small
• 1 1/4 c. homemade chocolate chunks [recipe HERE]

- Preheat oven to 350.
- Beat butter and zsweet until mixed & fluffy.
- Add flours, baking soda and salt. Beat on low [or use a whisk] just until mixed well.
- Add in vanilla, walnuts, and chopped chocolate.
- Roll dough in to about 24 balls. - Place dough in fridge for 5-10 minutes to set.
- Put dough two inches apart onto parchment-lined cookie sheet.
- Bake for 10-12 minutes. *Halfway through baking, flatten cookies with spatula.
- Let cool on pan because they can be quite crumbly when warm. [Or if you need to use pan for second batch, transfer the parchment with cookies onto the counter to finish cooling.]
- Store in the fridge in an airtight container!
- They are best eaten straight from the fridge [not oven] and taste great with unsweetened vanilla almond milk. 

As always, if you make these come back and comment here to let me know how they turned out, if you liked them, or if you made any adjustments. I'm curious to know! :)
-Enjoy eating well-

- Fried Zucchini with a Creamy Dipping Sauce -


Howdy! I hope you all had a lovely Thanksgiving. I sure did!
I've not posted recently because I've been out of town. But I'm back and ready to get you some recipes and more great info.
Onto today's post:


  I love fried things. I always have. Thankfully, though, I don't really crave them anymore. But a couple weeks ago, for whatever reason, I wanted to try my hand at making fried onions. They were ok. Tasted good because they were fried, but nothing much to look at. So I decided to try making fried zucchini instead. And it worked SO well. Much better than the onions. I am quite excited about it... not that I fry things regularly. But I'm glad that I have a solid go-to recipe if something needs frying. [Tonight I'm going to try making fried mozzarella sticks with fresh mozzarella from Trader Joe's. And I just devoured a whole pan of baked kale chips!] :)
Anyway, after I made the fried zucchini I realized that I didn't have anything to dip it in- it's been so long since I've eaten a dipping sauce. But one can't eat fried zucchini without a sauce! So I peered into my fridge to find things I could whip together real quick. And I mean real quick! I didn't want the warm zucchini to get cold and soggy. So a little bit of this, a little bit of that in the blender and next thing I know I have a creamy, delicious dipping sauce for my delectable fried zucchini. Woo!
I know it's not hard to fry something up, but here's the recipe I came up with in case you're interested. The recipe for the dipping sauce follows.

Fried Zucchini

• 1/2 c. refined almond oil, for frying [Can use coconut oil or macadamia nut oil. If you use unrefined coconut oil, it will taste like coconut. I'd use refined. Do not use olive oil or butter.]
• 1/2 large zucchini, sliced in french fry strips
• 1 egg, beaten
• 1/2 c. blanched almond flour
• 1/4 c. freshly grated parmesan cheese [finely grate]
• pinch salt & pepper
• 1/2 tsp tumeric
• couple shakes of garlic powder

- In a small bowl, beat egg.
- In medium bowl add all dry ingerdients and mix together.
- Heat almond oil in skillet until a drop of water sizzles.
- Place a couple strips of zucchini at a time into egg, then into flour mixture and toss to coat.
- After first coat of flour, place zucchini pieces back into egg mixture and then coat again in flour  mixture.
- Place coated zucchini in oil and fry about 5 minutes each side. Or until deep golden brown.
-Drain on paper towel.
Serve immediately.
[I got the idea to add parmesan cheese from Maria over at Nutritious and Delicious blog. But this is my own recipe.]


Dipping Sauce

• 1/4 c. cottage cheese
• 1 tbsp cream cheese
• 2 1/2 tbsp organic chicken stock [make sure no sugars or oils are added to it]
• 3/4 tsp dijon mustard
• dash garlic powder
• pinch salt & pepper [to taste]
• 1/8 tsp xanthan gum [optional, makes it a little thicker]

- In blender or food processor blend all ingredients until smooth.
- Pour into serving dish and let set in the fridge for a few minutes.
- Serve with fried zucchini, fresh veggies, chicken, etc.


**If you try either of these recipes out, please come back and let me know how you liked them or if you altered them and how they turned out. Thanks!

-Enjoy eating-